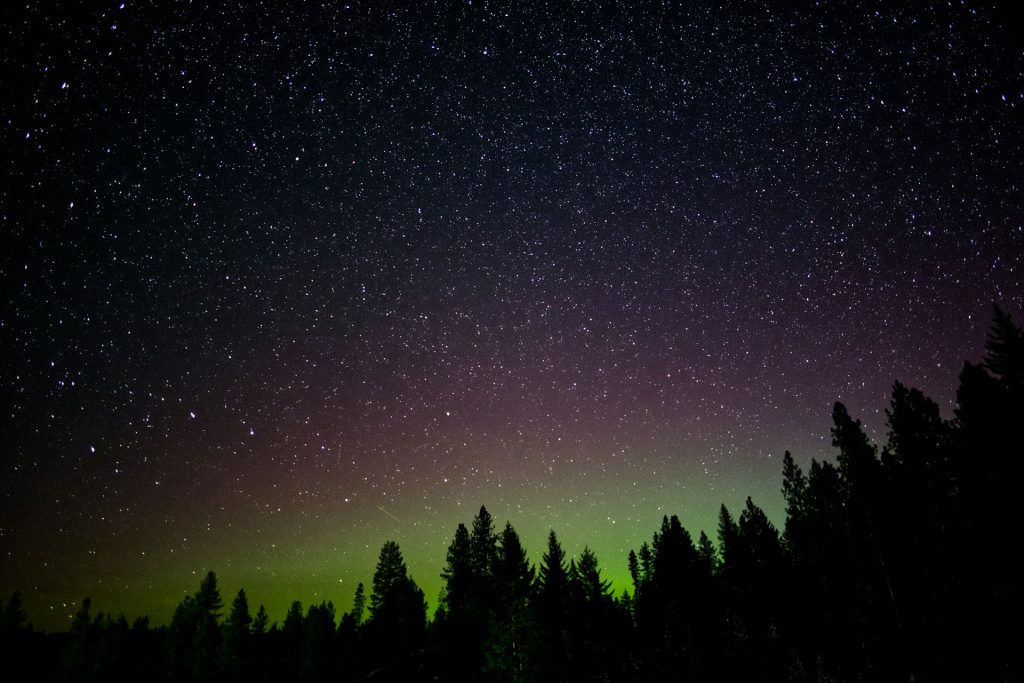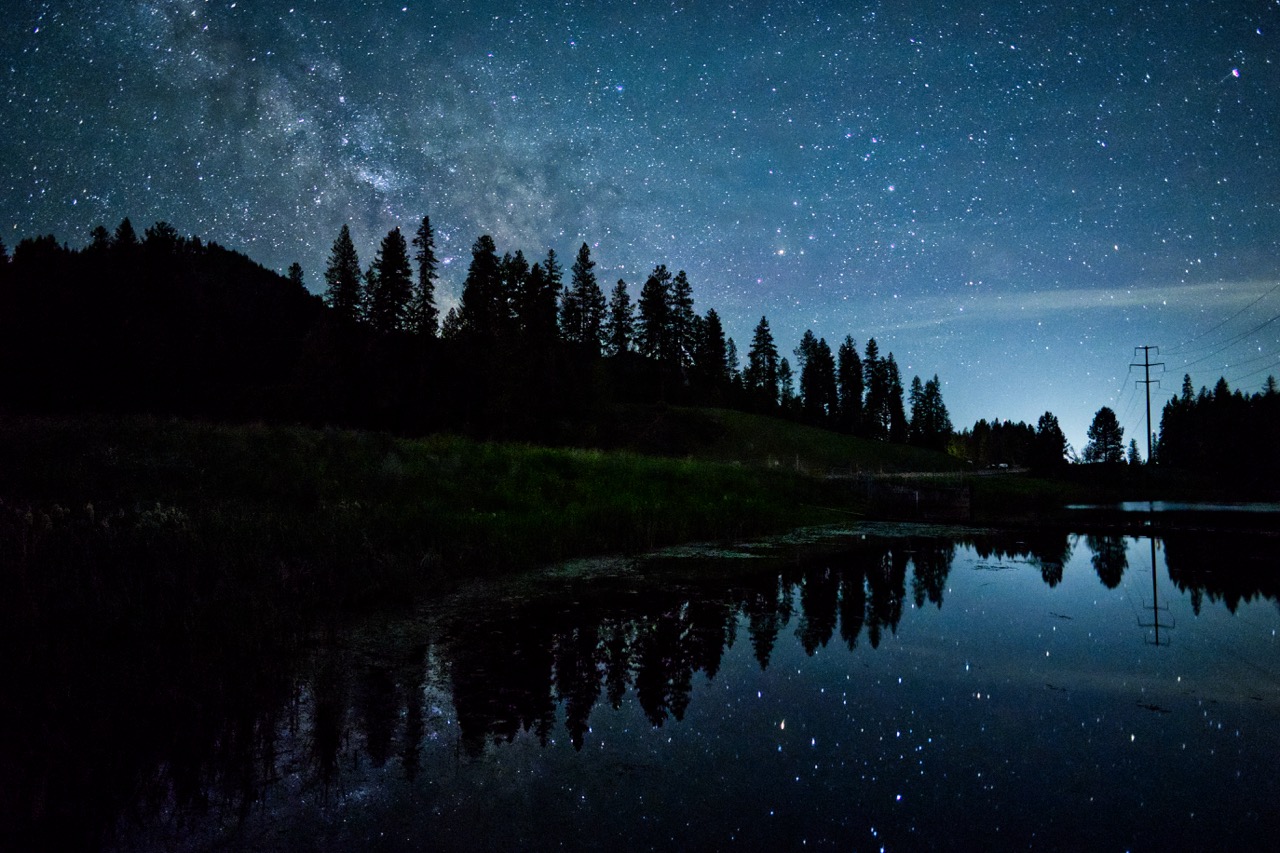
Astrophotography in North Idaho is easier than most people expect, because the hardest part, finding a dark sky, is already done for you. Drive a few miles out of Sandpoint or Bonners Ferry on a clear, moonless night and you can see the Milky Way without a camera. This guide covers where to go, when to look for the northern lights, the camera settings that work, and what I’ve learned from giving night photos away for free.
Why astrophotography in North Idaho works so well
We have few people, small towns and a lot of forest. Light pollution drops off fast once you leave the Highway 95 corridor. I wrote more about that in Just How Dark Does It Get?
The catch is weather and latitude. Clouds are common from fall through spring. Wildfire smoke can haze the sky in late summer. And around the June solstice, this far north, the sky never gets completely dark. The best nights are clear, moonless ones in late summer and early fall.
Where to see the Milky Way
You don’t need a famous overlook. You need a spot with the right ingredients:
- An open view to the south, where the bright core of the Milky Way sits low in the sky in summer.
- Something for the foreground: water, a ridge line, a lone tree.
- Town lights behind you or blocked by a hill.
- A legal, safe place to park at night.
Lakeshores and public land fit that list well. MacArthur Lake near Naples is one example, and you can see photos from a night there in my astrophotography post. Check access hours before you go, since some public sites close at dusk.
The core is visible from roughly late spring through early fall. In spring it rises in the hours before dawn. By late summer it’s up soon after dark, which is a lot kinder on your sleep. Scout in daylight first. Outdoor Activities in Bonners Ferry has ideas for places worth a look.
Chasing the northern lights near the Canadian border
Living close to the border helps, a little. During a geomagnetic storm the aurora usually shows up as a glow low on the northern horizon. In a strong storm it can climb overhead.
Watch the aurora forecast from NOAA’s Space Weather Prediction Center, then find a dark spot with a clear view north and be patient. Your camera will often pick up colour before your eyes do, so take a test shot facing north even if the sky looks empty. The long nights from fall through spring give you the most chances, when the clouds cooperate.
Camera settings and gear for night skies
You need less gear than you’d think:
- A camera with full manual mode.
- A wide lens with a wide aperture. f/2.8 or faster is ideal.
- A sturdy tripod.
- Spare batteries, because cold drains them quickly.
- A headlamp with a red light, so you keep your night vision.
Starting settings for the Milky Way
- Shoot in manual mode and in RAW.
- Open the aperture as wide as it goes.
- Set the shutter to 15 to 25 seconds. The “500 rule” gives a rough limit: divide 500 by your focal length to get the longest exposure before stars start to trail.
- Start at ISO 3200 and adjust from there.
- Focus manually. Zoom in on a bright star in live view and turn the ring until the star is as small as possible.
- Use a 2-second timer so pressing the button doesn’t shake the camera.
Settings for the northern lights
Aurora moves, so use shorter exposures to keep its shape. Try 2 to 10 seconds at ISO 1600 to 3200, and shorten the exposure when the lights get brighter or faster.
The story behind a single photo
A good night photo is mostly planning. It starts with the moon phase and the cloud forecast, then a daytime visit to find the composition, then a cold wait in the dark. Usually there are a few failed frames before the one that works.
What giving photos away on Unsplash taught me
I share my photos for free on Unsplash, and some of them have been downloaded more than 500,000 times, with millions of views. That is far more people than would ever see a photo sitting on my hard drive.
The lesson is simple. A photo that’s free to use travels much farther than one that’s locked up, and it ends up in places you would never reach yourself. Clear titles and location tags help people find it.
If you’d like to see more of North Idaho after dark, take a look at my photography page. Then pick a clear, moonless night, drive away from the lights, and look up.